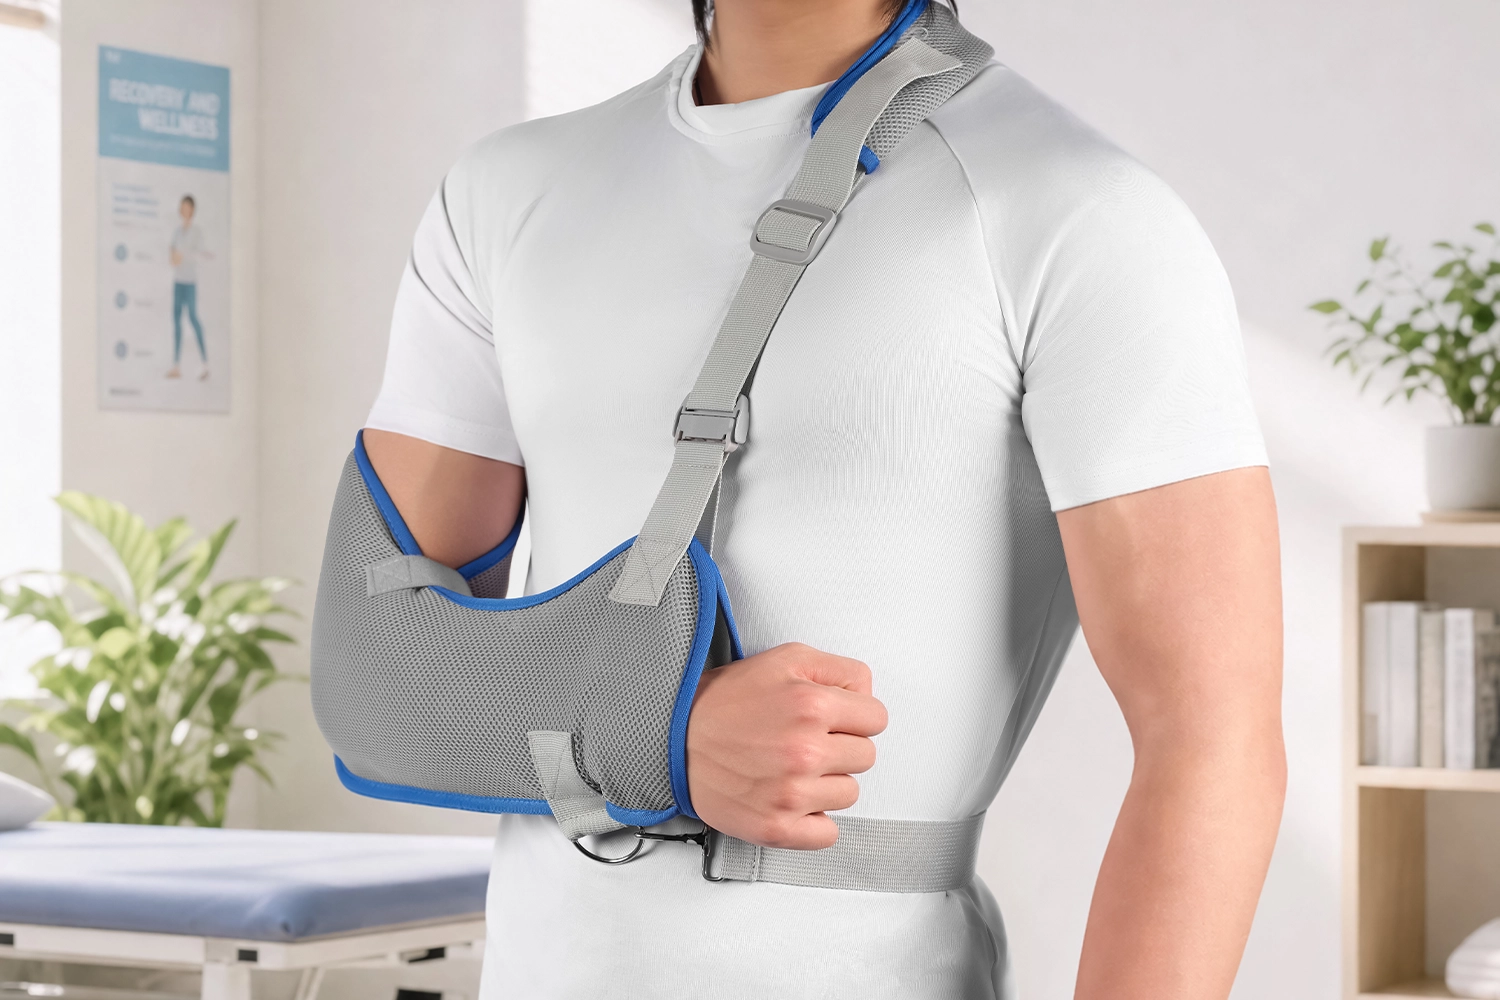
When a doctor first mentions a “custom scoliosis brace,” most parents picture a bulky plastic shell pulled off a shelf. The real brace is far more precise and reassuring. Every TLSO brace a scoliosis patient wears goes through a manufacturing process that blends orthopedic science with digital engineering, from the first spinal measurement to the final thermoformed shell.
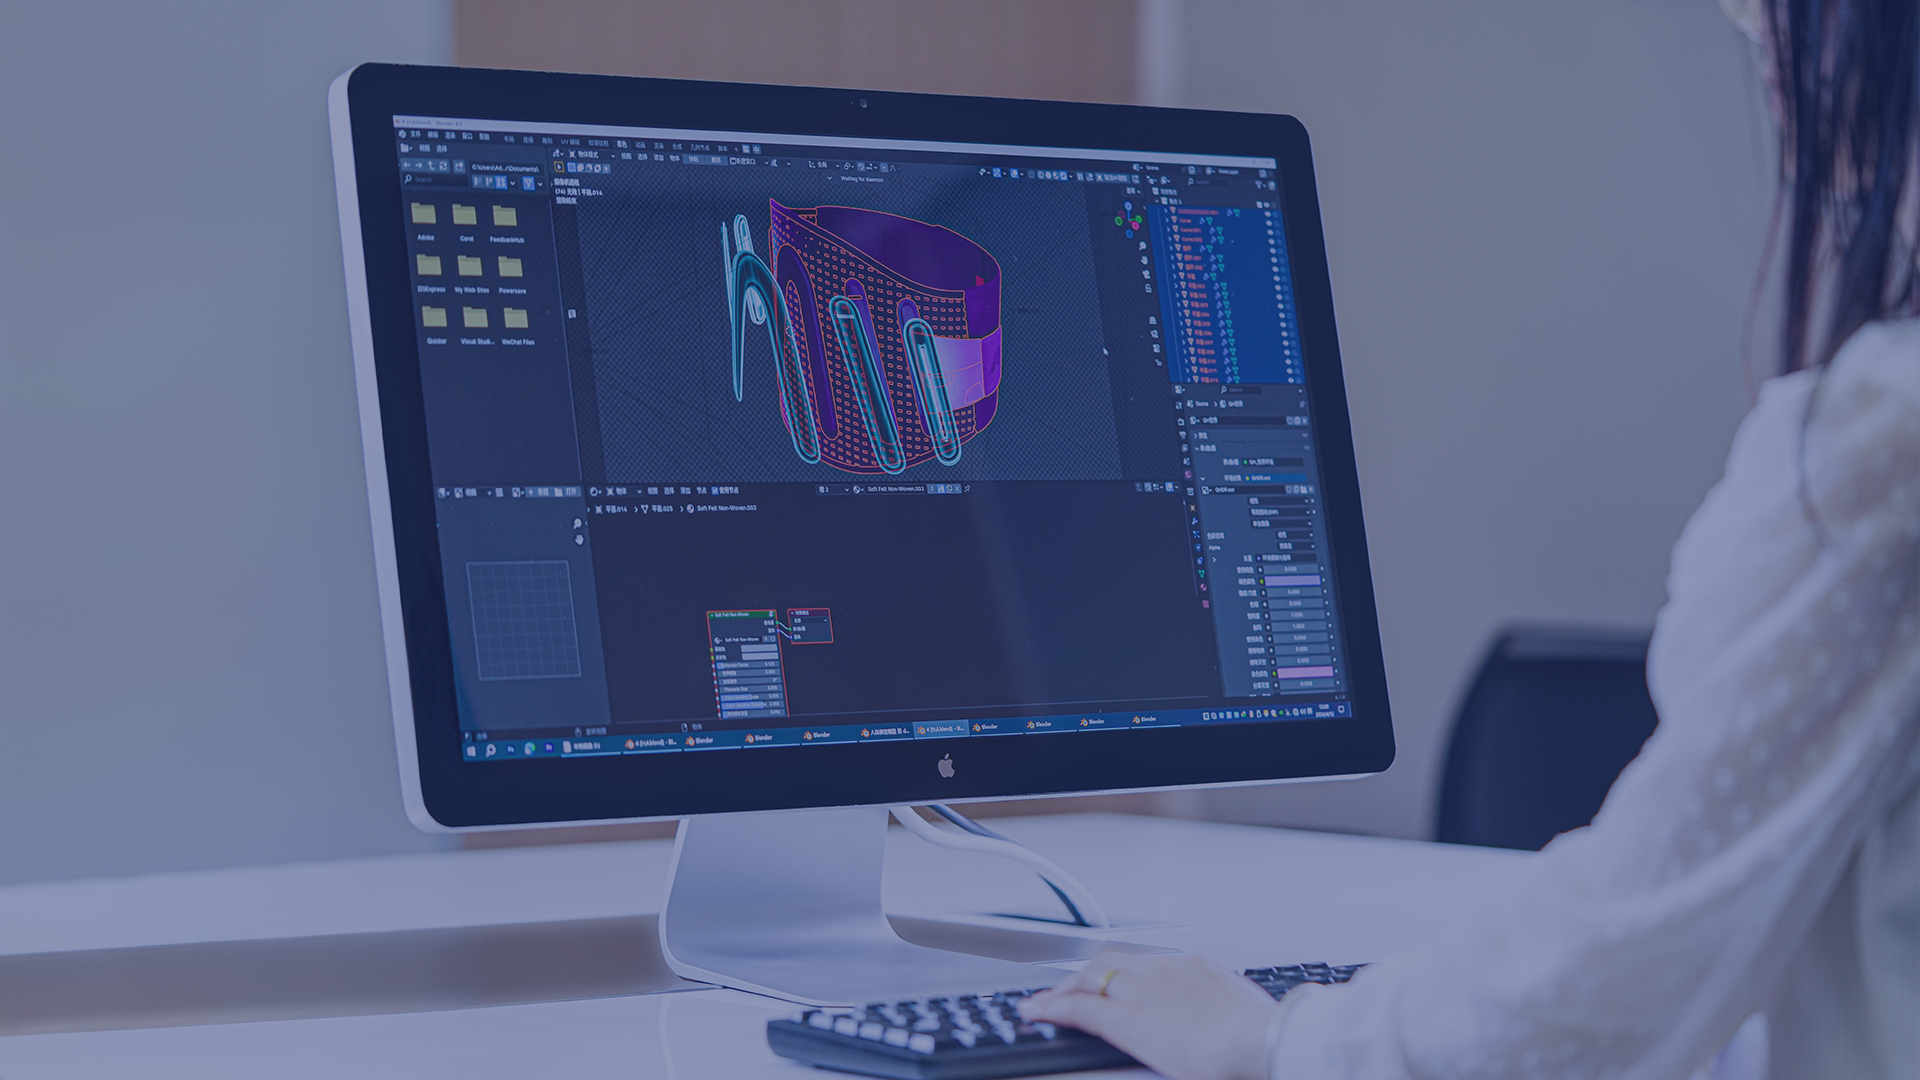
This guide walks through how manufacturers make a custom scoliosis brace for a curved spine, step by step. Orthotists first capture the body’s shape using 3D scanning or traditional plaster casting. CAD software turns those measurements into a corrective design, and CAM machines turn that digital file into a wearable, spine-correcting brace. Whether you’re a nervous parent getting ready for an upcoming appointment or a clinician brushing up on fabrication techniques, you’ll finish this piece knowing what happens between diagnosis and delivery.
Clinical Assessment and Diagnosis: The Foundation of Custom Scoliosis Brace Treatment
No brace gets made until the numbers say it should. Before an orthotist even thinks about a brace, doctors run a screening and diagnostic sequence that decides whether bracing is needed at all.
The screening test comes first
Physicians use a forward-bend Adams test with a scoliometer reading. A trunk rotation of roughly 5–7° is usually the trigger for follow-up X-rays.
Then imaging confirms the diagnosis. Three X-ray views matter most:
– Standing full-length PA — measures the primary curve
– Standing lateral — checks sagittal alignment
– Side-bending films — test how flexible the curve is
Doctors calculate the Cobb angle by finding the most tilted vertebrae at the curve’s top and bottom, drawing lines along their endplates, then measuring the angle between perpendiculars to those lines. A Cobb angle under 10° is spinal asymmetry, not scoliosis.
Curve severity determines the treatment path
| Cobb Angle | Typical Action |
| <10° | Not scoliosis by definition |
| 10–24° | Mild; usually observed |
| 20–24° (progressing) | Brace considered |
| 25–40° | Classic bracing window for growing kids |
| 40–45° | Brace used in selected cases |
| >45–50° | Surgical evaluation often discussed |
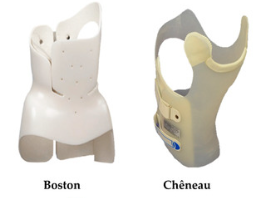
Orthotists decide between a Boston brace vs Cheneau brace
| Feature | Boston Brace | Chêneau Brace |
| Design Approach | Symmetrical & Standardized. Selected from prefabricated modules and customized with internal padding. | Asymmetrical & Fully Custom. Tailored directly to the patient’s anatomy via 3D scanning and X-rays. |
| Correction Mechanism | Uses three-point pressure to push against the spine, primarily addressing side-to-side curvature. | Uses pressure and expansion zones to actively de-rotate the spine while correcting curvature. |
| Planes of Correction | Focuses heavily on the coronal (2D) plane to stop curve progression. | Addresses the 3D nature of scoliosis (coronal, sagittal, and axial rotation). |
| Bulk & Profile | Can be thicker, stiffer, and more noticeable under everyday clothing. | Generally lower-profile and highly contoured, with built-in expansion spaces for breathing. |
| Clinical Track Record | Extensively researched with decades of data proving its ability to prevent surgery. | Highly effective, with strong evidence showing excellent stabilization and improvement in rib hump rotation. |
| Suit for | Thoracolumbar or lumbar curves, typically 20–50° | Progressive AIS with an apex below T5, usually in the 25–45° range |
For pediatric patients, brace decisions depend on how much growth remains, often measured by Risser stage 0–3. Bracing works by controlling curve progression while bones are still growing. Adult assessments shift focus toward pain, functional balance, and degenerative patterns instead.
Once the curve angle, location, and growth status are confirmed, the manufacturing process — 3D scanning for scoliosis brace fabrication — can finally begin.
Body Capture Methods: 3D Scanning vs Traditional Plaster Casting
For a nine-year-old standing in an orthotist’s office, the two ways to capture the exact shape of a curved spine feel completely different.
3D scanning
3D scanning for scoliosis brace fitting is the faster, cleaner option. A handheld or stationary scanner sweeps the torso and captures the full surface geometry in about 15 seconds to 1 minute. Low-cost scanners generate usable meshes in under 10 seconds after that. Accuracy holds up well too. Some scanning methods report point-cloud precision under 0.5 mm, while budget scanners still land within 1.6–1.7 mm of true surface contours. From scan to a delivered brace, the whole pipeline typically runs about one working day.
Traditional plaster casting
Traditional plaster casting works differently. The orthotist wraps the torso in plaster bandages, holds the position while it hardens, then cuts the shell off and pours plaster into the negative mold to create a solid positive model. That hands-on process takes roughly one hour, sometimes stretching to 10–30 minutes of active wrapping plus cleanup time.
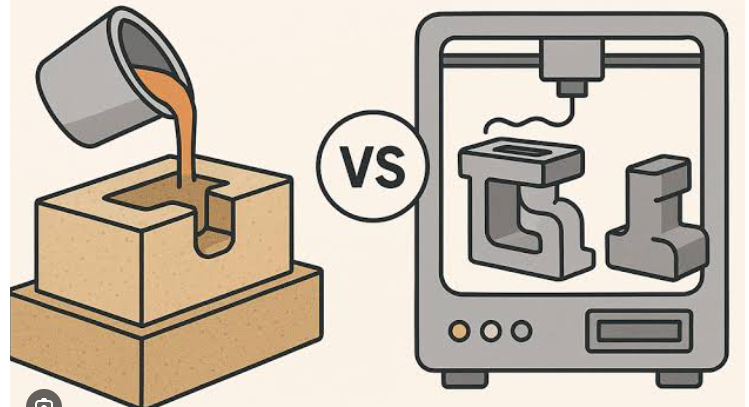
Which is better
Head-to-head data favors scanning on speed and reproducibility. A comparative TLSO study clocked full fabrication at 54.9 minutes for scanning versus 100 minutes for casting, nearly double the time. Scanning also showed better shape reproducibility in curvilinear areas and smaller gaps across different body types.
Clinically, though, outcomes converge. A Garches-brace comparison found no significant difference in Cobb angle correction (p = 0.169), fitting adjustments, or skin irritation between the two methods. Child comfort scored higher with scanning, but effectiveness stayed comparable.
Some clinics still prefer casting. It produces a physical mold clinicians can reshape by hand, and it doesn’t depend on a squirming child standing still long enough for a clean scan.
Digital Model Creation and CAD Design Process: This is Where a Manufacturer Takes Over
Raw scan data is a cloud of dots. The real engineering happens in the next stage, turning that scan or plaster cast into a workable 3D model a machine can cut.
Back brace manufacturers in China have rich experience in manufacturing with wide kinds of machines and tools. In addition, it is affordable. It is always better to pick one than make one by yourself.
Reconstruction
Optical scanners capture a point cloud first, then software stitches those points into a solid surface. If the input comes from CT or DICOM imaging instead, a reconstruction tool builds an STL file, and then modeling software extracts the body surface and cleans it into a single torso model. Both paths lead to an editable STL ready for CAD work.
Actual correction gets designed
This is the core of CAD CAM orthotics scoliosis work. Orthotists sculpt a pressure map. Certain zones get built-up pressure areas that push against the curve. Others get relief zones that give the ribcage or hip room to move.
The pressure zones aren’t random. Across most spinal curvature correction brace designs, four regions repeat: the thoracic region, lumbar region, axillary extension under the arm, and greater trochanter extension at the hip. These map onto the three-point pressure system that makes bracing work.

Design is an optimization loop. Software paired with simulation models keeps adjusting the shape until it maximizes simulated curve correction and minimizes contact area with the torso. One CAD optimization study found the finished brace matched simulated pressure location and intensity in 92% of cases, a sign of how reliable digital modeling has become.
Many clinics don’t start from scratch either. They pull a base design from a brace library, model templates sorted by curve pattern, sometimes using classification systems like Lehnert-Schroth (ALS). The scanned patient data then scales, shifts, and locally reshapes that template until it fits.
Positive Model Production
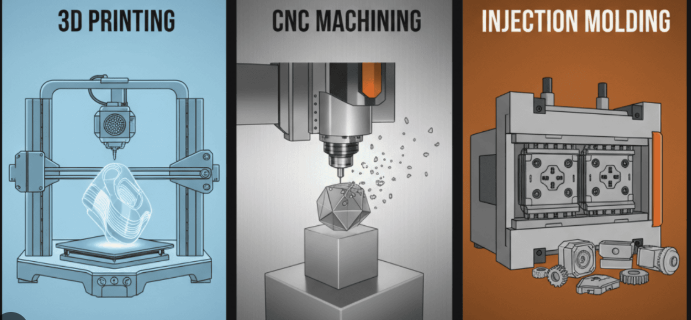
Three different production methods can turn that digital file — or an old-school plaster negative — into a solid, wearable positive model. Each one plays by its own rules.
Plaster casting
Traditional plaster casting is the oldest route. You pour plaster slurry into the negative impression and separate it once it hardens into a solid positive cast. Hand mixing takes 30–60 seconds; machine vacuum mixing runs about 30 seconds at 280 rpm and 5–6 bar. The plaster stays workable for 5 minutes, and orthotists get one more minute of light reshaping after it loses its shine. Push past that window, and the crystalline structure gets damaged. You demold 30 minutes after pouring, then saw-cut and trim within 2 hours to avoid dimensional drift.
CNC foam milling
CNC foam milling skips the mixing. A digital file drives a router through a foam blank, delivering high precision, repeatable dimensions, clean edges, and faster turnaround than hand carving. It’s the go-to choice for larger, low-cost positive models, though light sanding still follows the cut.
3D printing
3D printing builds complex geometry straight from CAD, ideal for small, intricate shapes needing fast iteration. Layer lines and build-size limits mean you still need to do surface finishing afterward.
Brace Forming: Thermoforming and Material Selection
Heat and vacuum do the final shaping. Once the positive model is ready, manufacturers pick a thermoplastic sheet, heat it until pliable, and pull it tight over the mold under vacuum pressure. This thermoforming step is where the brace actually becomes rigid enough to correct a spine.
PP
Polypropylene (PP) dominates this stage because it holds up. Orthotists heat PP homopolymer sheets to 175–180°C, or copolymer versions to 165–170°C. The heating rule: 5 minutes per millimeter of thickness, plus 10 minutes. A 3mm sheet needs about 25 minutes in the oven; 4mm stretches to roughly 30 minutes. Once warm, the sheet gets vacuum-formed onto the model for 8–10 minutes to lock in every contour. The shell then cures for 24 hours before anyone touches it again.
PP is semi-rigid, resists fatigue under repeated loading, and costs less to produce at scale. That combination makes it the standard for Boston brace vs Cheneau brace builds alike, especially when a growing spine needs strong, sustained correction.
PE
Polyethylene (PE), especially high-density PE, is softer and more forgiving. It works better for adult patients or neuromuscular scoliosis cases where comfort matters more than aggressive correction. In classic Boston brace fabrication, a high-density PE outer layer gets vacuum-formed first, then lined with PE foam for cushioning against the skin.
The two brace types diverge in technique, not just material. Boston braces favor symmetric, standardized shell production. Cheneau braces demand finer sculpting — asymmetric pressure zones, expansion pockets, and localized thinning — all achieved through careful vacuum-forming and post-trim work on the same PP shell.
Trimming, Finishing and Hardware Assembly
A rigid PP shell straight off the mold is dangerous to wear. Sharp edges dig into skin, and no parent wants their kid coming home with red marks after a school day. This is why trimming and finishing exist as a separate, required step in the scoliosis brace manufacturing process.
Trimming and finishing
Every edge must be rounded, with zero sharp corners and zero burrs. Skip this, and you get friction, pressure sores, and redness right where the brace should be protecting the spine.
Technicians cut the trim lines and round every edge. A rotary polishing tool does the finishing pass, starting around 15,000 RPM and climbing to 35,000 RPM for experienced hands. Move too fast or linger too long, and the material overheats or thins out. On thermoplastic shells, edges trimmed while still warm self-seal into a smoother finish, so timing matters here too.
For spinal orthoses, corner radii should measure at least 6mm. That single spec cuts down cracking risk over months of daily wear. The final check is tactile: no pinching, no digging, and no red marks after a trial fitting.
If you opt for a colorful transfer pattern or any decals, these are heated in the oven and then formed and cured around the brace mold.
Hardware Placement and Alignment
Straps, buckles, hook-and-look, and pads come next, and their position matters as much as the shell itself. Padding must sit centered on the body. An off-center pad creates uneven pressure and undermines the whole correction strategy. If a strap pad runs too long, orthotists trim it and reinstall rather than fight a bad fit.
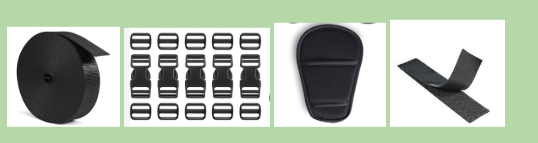
Strap tension follows a set order. Secure the positioning points first, then tighten circumferentially. This keeps the brace’s pressure system balanced across both sides. Manufacturers who spell out edge-rounding specs, pad centering, and strap sequencing in detail tend to produce brace batches with fewer complaints about rubbing or slippage. It’s a small but telling marker of manufacturing consistency across different orthotist and hardware setups.
Fitting and Adjustment: Getting the Correction Right
The fitting session decides whether the brace actually corrects the curve. Rushing it defeats even a perfectly fabricated shell. This is where the orthotist locks in real correction.
Checkpoints during the first fitting
– Pressure placement: pads should press directly on the curve’s apex and just below it. For thoracic curves, that’s the mid-axillary line at the apical rib level.
– Skin contact: check every contact zone for redness or friction. Excessive irritation usually means the fit is already off.
– Pelvic alignment: iliac crests should sit level. Correct real leg-length differences with a shoe lift first, then judge the brace fit.
– Shoulder balance: uneven shoulders signal the brace is pulling the torso the wrong direction.
– Strap tension: the patient wears it once, live, so the orthotist can check tightness. Front-opening braces fit tighter lying down; back-opening designs often need slight hip-knee flexion.
– Relief zones: the concave side should feel loose, not tight. A cramped relief zone means more trimming is needed.
Follow-Up Adjustments
Most patients return within 2–4 weeks for the first real adjustment. Orthotists ask about pressure at the iliac crest, rib margins, and shoulder straps, then re-pad or re-trim based on that feedback. An in-brace X-ray at this visit confirms whether the shell is actually pushing the curve back.
With consistent wear of 16–23 hours daily, braces halt progression in 74–93% of adolescent patients with 20–40° curves.
Delivery, Wear Schedule and Long-Term Follow-Up
The brace comes with a wearing schedule that ramps up over time, and follow-up visits continue for years, not weeks.
Wearing schedule
Full-time bracing means 16–20 hours a day. Some prescriptions specify 16–23 hours, and more aggressive protocols push to 16–24 hours. Nighttime-only braces run shorter—usually 8–10 hours, sometimes written as 9 hours, with individualized plans stretching to 10–12 hours for teens.
Nobody jumps straight to full-time wear. Most clinics build in a 1–2 week adaptation period, targeting the full prescribed hours by week three. Nighttime braces follow a similar week-long ramp: nights 1–2, 2 hours before sleep; nights 3–4, wear continues after falling asleep, remove if uncomfortable; nights 5–6, full overnight wear; nights 7–8, overnight wear tightened to the marked lines.
Follow-Up Frequency and Brace Replacement
Orthotists recheck fit every 3–4 months. Physicians see patients every 4–6 months. X-rays follow growth speed: every 4–6 months during rapid growth (Sanders stage 3–4), then every 6–12 months otherwise.
Watch for tightness, discomfort, persistent red marks, or trouble hitting the prescribed hours—all signs a refit is needed. Growing kids often need a new brace around the 12-month mark.
When Results Show
The first real evidence comes at the 4–6 month in-brace X-ray, not sooner. Visible day-to-day change takes months, not days. Success means the curve stops progressing and stays stable until growth ends.
Now, Choose a Reliable Scoliosis Brace Manufacturer
Custom scoliosis braces are a precise blend of clinical diagnosis, digital engineering, and hands-on craftsmanship. The manufacturing process starts with 3D scanning, which replaces messy plaster casts with millimeter-accurate digital models. CAD/CAM software refines the correction geometry, and orthotists fine-tune the final fit for comfort and effectiveness.
Need custom scoliosis braces for your patients’ follow-up trip at 6 to 8 weeks, 3 months, and 6 months? Contact AOFIT now, and we are ready with complete private label solutions. Every detail and specification undergoes review by our senior fabrication specialists, who then create a custom mold tailored to your exact anatomical measurements.
If you opt for a colorful transfer pattern or any decals, these are heated in the oven and then formed and cured around the brace mold. Next, the mold is hand cut to match the shape of your prescribed brace, the edges are buffed for comfort, and all necessary hardware—such as straps and buckles—is attached.
Each brace is individually inspected by our quality team to confirm that all design parameters have been satisfied. The finished product is then shipped to your clinician, who will fit it and make any adjustments required for maximum comfort.